
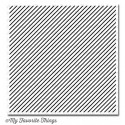
Stripes make me happy! They are straight, perfect, and so easy to incorporate into card designs. My first card shows a technique that I am calling Emerging Hybrid Ink. In this technique, I have stamped the Diagonal Stripes Background in Banana Split Hybrid Ink (one of the lightest colors we offer) on Smooth White Card Stock, and then layered over it with Sheer Shimmer Mist mixed with Premium Dye Ink Refill. The Hybrid Ink emerges from all of the layers of color, standing out from the background. I first discovered this property when making THIS card.

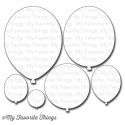
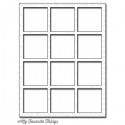
I stamped the sentiment, from Celebrate You, on a Fishtail Flag. The balloons were die-cut and decorated with the Happy Birthday Background and Woodgrain Background (and a vellum star). I tied white twine to them and adhered it to the underside of the panel. I layered the Square Grid Cover-Up over the prepared, stamped panel.


Emerging Hybrid Ink
Here is a look at the process. I started with the Diagonal Stripe Background, Smooth White Card Stock, and a Banana Split Hybrid Ink Pad.
After stamping the background on the white panel, I chose the color palette.

Then I mixed Sheer Shimmer Mist with Premium Dye Ink Refills.
Recipe for a small mini mister:
- 15 drops of Premium Dye Ink Refill
- Fill the rest of the way with Sheer Shimmer Mist (or Steel Shimmer Mist, or water)
- Tip: Add less or more refill for a more vibrant, or more muted finished color.
- Tip: Don't overfill the misters - it makes a mess when trying to screw on the top on a too-full mister.
- Shake well before each use. You can spray out of the mister, or use a paint brush and dip into the open bottle to brush on color.

I used the lines as a guide and painted Banana Split mixture on one corner.

I repeated the process with Sour Apple…

and Nightshift Blue…
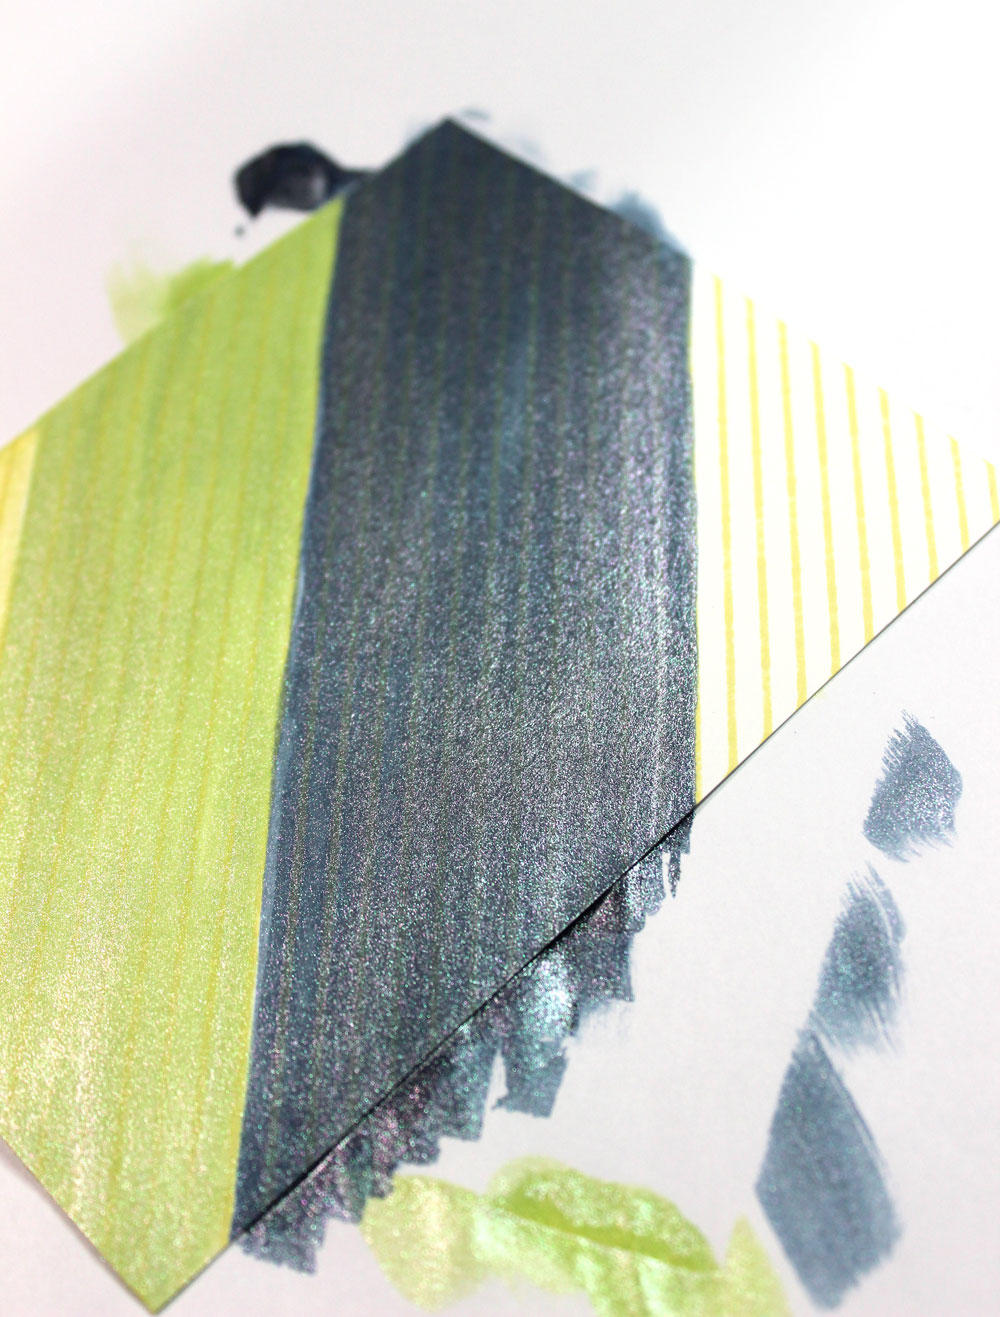
and Grout Gray.

Then I dripped large drops of all 4 colors over the painted panel. The shimmer mist pools adding a cool look.

Check out all the shimmer.

Here is one more look at the finished card:

Up next, I go "back to my New Mexico roots" with this clean and simple card using the Stripe Background Stamp Set. The two interlocking stripe clusters reminds me of a zia.

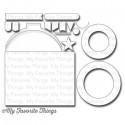
I stamped a balloon with the Happy Birthday Background. The stacked Happy die cut was layered over the balloon. I tied a piece of white twine on the ballon and adhered it to the underside of the panel.

Here is a view of the stacked happy die cuts. I just love the look!


Be sure to head over to the MFT Blog to see what the rest of the team came up with for this fun challenge.
HAPPY HAPPY HAPPY BIRTHDAY CARD:
Stamps: celebrate you, diagonal stripe background, happy birthday background, woodgrain background
Die-namics: square grid cover-up, fishtail flag stax, balloon stax, blueprints 16
Card Stock: smooth white, banana split, vellum
Ink: banana split hybrid, banana split premium dye ink refill, sour apple premium dye ink refill, nightshift blue premium dye ink refill, grout gray premium dye ink refill, sour apple premium dye ink pad, grout gray premium dye ink pad, nightshift blue premium dye ink pad
Supplies: Sheer Shimmer Mist
happy card:
Stamps: happy birthday background, stripes background
Die-namics: happy, balloon stax
Card Stock: smooth white, lemon drop
Ink: lemon drop premium dye ink


Thanks for the lesson, Jody! Love the happy die cut and that yellow? Wow!!
ReplyDeleteGreat technique, Jody -- One I definitely need to play with! Beautiful cards!
ReplyDeleteThose are COOL, Jody!
ReplyDeleteThese are wonderful Jody!!
ReplyDeletelove them
ReplyDeleteOk, so that technic and your tutorial rock this one outta the park, but I'm also in love-land with the CAS lemon stripes both ways! LOVE it.
ReplyDeleteLove the shimmer on the first card!
ReplyDeletevery beautiful cards, Jody!!! thanks for the tutorial, really great!!!
ReplyDeleteBoth cards are wonderful, Jody! Great "how to" on that really cool technique, too! TFS!
ReplyDelete