Admin Control Panel

New Post Change Layout Sign Out
Showing posts with label tutorials. Show all posts

Apr 5, 2018

Craft Hack for Cross-Stitching on Paper - You NEED to See This

Hello, hello! I have some valuable tips & tricks to share with you, so kick up your feet and get ready to get excited about cross-stitching on card stock. I'm not a big cross stitcher — I've never created a "real" cross-stitched wall hanging, however, I had caught the cross-stitch bug and with anything I do, even crafting, I like to be efficient! I found that poking out the holes on panels for cross stitching was a little time consuming, and I knew I would want to cross stitch multiple things, so I tried bulk die-cutting and paper poking and it worked!

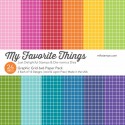
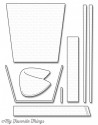
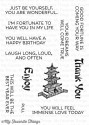
First, let me show you the eye candy of my post — a little southwest number with 3 stitched cacti and a pink background and border. Just go with it. I know the sky isn't pink, but pink makes everything more beautiful. <3 I found a similar pattern online and changed it up a little and adapted to work on the Cross-Stitch Rectangle.


Now it's time to rewind so I can show you the method behind my madness with ALL of our cross stitch dies (present and future...shhhhh, that was a hint).


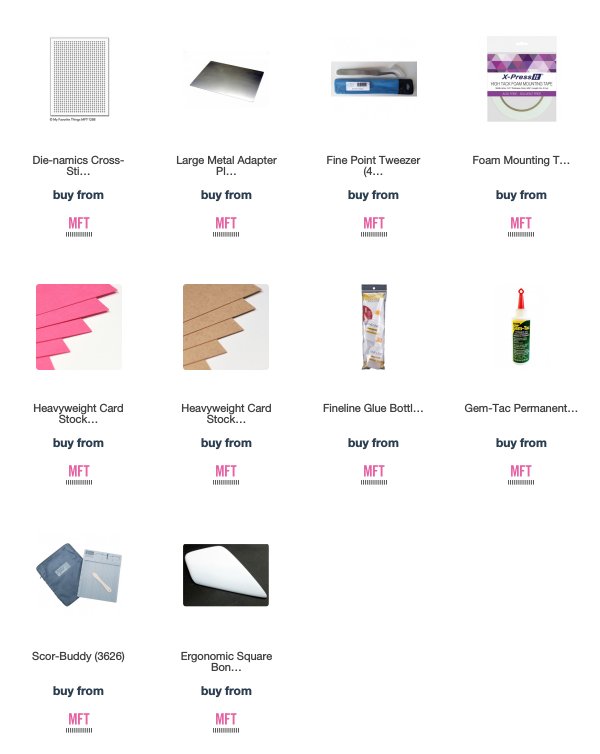
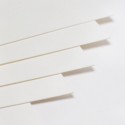
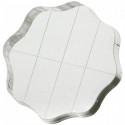
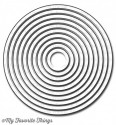
Die cut 12 Cross-Stitch Rectangles, one at a time. Be sure to use your metal adapter plate — the dots will be more easy to remove.


Now put them in a stack together like this. All 12 of them!


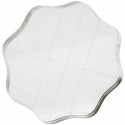
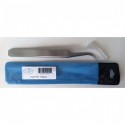
Now, grab a pair of tweezers with a long "nose" like these. If you hold them all in a big stack, you can poke out all 12 layers at once using the tweezers.


This is a ridiculous picture where I show you how you will be inserting the tweezers in the stack of rectangles. I just like to be thorough. LOL


At this point I was on the phone with Stephanie Klauck and explaining to her what I was doing. She asked if I held the panels together with a banana clip. Um, huh? Ohhhhh you mean binder clips? NO, but I do now. That is a bonus tip! LOL So, put binder clips in place as shown and keep poking. I will warn you, you will end up with dots everywhere, so either do your best to corral them, or deal with dots on the bottoms of your feet for a while.


Here I am about halfway done.


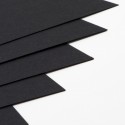
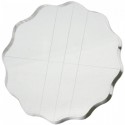
And DONE! At this point, I removed the clips and smacked the stack on the edge of my desk about 10 times just to let the last remaining stragglers fall out.


12 beautiful panels. The tips don't stop here though! Keep scrolling!


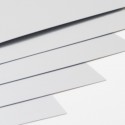
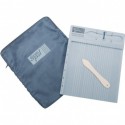
These panels are a decent size and you'll be holding it for the next several hours as you stab a needle through it many times. Paper doesn't hold up as well as cloth, so I double stack them for extra sturdiness. In full disclosure, even if it didn't make it sturdier, I would probably still double stack them, because I like to do that to some most die cuts.


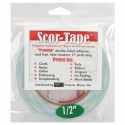
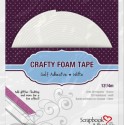
I use a Fineline Applicator with Gemtac glue in it and add glue around the outside and a few random dots on the panel. Then I press them together and let them dry. Once fully dry, you are ready to create your masterpiece. :)


When I was doing this I stuck my shirt over my knees and sat in a super weird position so I could catch as many dots as possible. This is the aftermath. This is only about half the dots. LOL


But LOOK what you can create! You can do it. It's such a fun couch activity.


Be sure to check out the Tricks & Tips from the rest of the team on the MFT Blog. I can't wait to see what I learn!

Mar 6, 2017

Untraditional Chinese Takeout Box

Hello there and thank you for stopping by today. Today is the last day of the MFT Release Countdown. Only 22 hours until the new release (yay)! Be sure to head over to the MFT Blog for full set and die reveals for the day. 

My card and project today features the new Graphic Grid Patterned Paper Pack, Chinese Takeout Die-namics, and Good Fortune stamp set. I was inspired by the colorful palette in the paper pack and added a splash of color (literally) using the Distressed Patterns stamp set. The takeout box was created from scratch using the takeout box die-cut (8 of them) and some creative mathematics/cutting/scoring/adhering. The top closure was created with the slot included in the die set. Each fortune cookie contains a different fortune - this would make a fun gift for a dinner party hostess. The fortune cookies were each created with a 3" circle from Circle Stax Set 1


How to make a fortune cookie:


  1. Die cut a 3" circle
  2. Score in half
  3. On the 2 sides of the circle that do NOT have score lines on them, soften/shape the paper by rolling up (think taco)
  4. lay the fortune in the center of the "taco" (fortune up - end hanging off the edge of the circle)
  5. grab the two ends of the "taco", use your thumb nail to press in at the center of the circle, on the score line, and pull the ends of the "taco" together in the opposite direction
  6. hold in place with a glue dot inside the fold of the fortune coolie (where the two halves "kiss"
  7. Tip - this works best with very thin paper or felt

How to make the Chinese takeout box:


  1. Die cut 8 takeout boxes
  2. Cut a square to 2 11/16, score each edge at 1/2", trim off the small corners that are created from the intersection score lines
  3. Adhere one takeout box die cut to each flap of the piece created in step 2
  4. Cut 4 pieces to 2" X 1 1/2" and score down the center at 3/4"
  5. Adhere one piece to the end of each takeout box adhered in step 4
  6. Adhere one takeout box die cut to each flap (large end to large end) - you can create the closure of your choice on 2 takeout box "top flaps" of your choice. I used the slot die and created a strip to fit within the slot. 
  7. When folding up the side of the box, if you want it to be secured, affix a scored circle die cut to each side to keep in place (on the inside of the box)


Pin It button on image hover